Using PYTRAJ in Jupyter Notebook
Overview
Teaching: 25 min
Exercises: 0 minQuestions
What tools are available to analyze my MD-data?
How to setup Jupyter for simulation analysis?
Objectives
Learn how to set up and use Jupyter notebook on Alliance clusters.
What is PYTRAJ?
PYTRAJ is a Python front end to AMBER’s CPPTRAJ package. The CPPTRAJ software provides an array of high-level analysis commands, as well as batch processing capabilities. You can perform many operations on raw MD trajectories with PYTRAJ/CPPTRAJ. For example, convert between trajectory formats, process groups of trajectories generated with ensemble methods, create average structures, create subsets of the system, etc. A large number of files can be handled by PYTRAJ in parallel, and it can handle very large trajectory sizes.
There are more than 50 types of analysis in PyTRAJ, including RMS fitting, measuring distances, B-factors, radii of gyration, radial distribution functions, and time correlations. In PyTRAJ, parallelization is implemented by MPI, and its use is relatively straightforward. You won’t have to write complicated code or know much about MPI to use it.
MDAnalysis, MDTraj, Pteros, LOOS/PyLOOS are other useful MD analysis packages. These packages provide libraries that can be used to compose analysis programs. Even though this approach offers great flexibility, it will take you longer to master it because it has a steep learning curve.
- PYTRAJ is a Python front end to AMBER’s CPPTRAJ package.
- PYTRAJ offers more than 50 types of analysis
- other useful MD analysis packages: MDAnalysis, MDTraj, Pteros, LOOS/PyLOOS
References:
Installing modules for working with JupyterHub.
Python interacts with Jupyter Notebook servers through IPython kernels. When we loaded the Amber/22 module the appropriate Python and IPython modules were loaded as well. The new IPython kernel has to be added to Jupyter before it can can be accessed from the notebook. The kernel can be named whatever you want, for instance, “env-pytraj”.
- Connect to the training cluster using SSH.
- Run the following commands:
module load StdEnv/2023 amber/22
pip install jupyter nglview==3.1.2 seaborn
python -m ipykernel install --user --name=env-pytraj
We also install two python modules that we will be using:
- NGLview, a Jupyter widget for molecular visualization.
- Seaborn, a Python data visualization library. It extends a popular matplotlib library providing a high-level interface for drawing, templates for attractive and informative statistical graphics.
- Go to JupyterHub and load StdEnv/2023 amber/22 before launching a notebook with env-pytraj kernel.
Installing a Python Virtual Environment and a Jupyter Notebook (only for working without JupyterHub).
Jupyter notebooks are becoming increasingly popular for data analysis and visualization. One of Jupyter notebooks’s most attractive features is its ability to combine different media (code, notes, and visualizations) in one place. Your work is much easier to manage and share with notebooks because everything is kept in one place that you can easily access.
Before going into details of MD analysis with PYTRAJ we need to create a Python virtual environment. The virtual environment is a framework for separating multiple Python installations from one another and managing them. A virtual environment is needed since we will be installing Python modules for this lesson and managing Python modules on Alliance systems is best done in a virtual environment.
In this lesson, we will be using PYTRAJ from AmberTools/22. To setup a python virtual environment first load the AmberTools/22 module:
Load the AmberTools/22 module:
ml --force purge
ml StdEnv/2020 gcc/9.3.0 cuda/11.4 openmpi/4.0.3 ambertools/22
The next step is to install and activate a virtual environment:
Install and activate a virtual environment:
virtualenv ~/env-pytraj
source ~/env-pytraj/bin/activate
Once a virtual environment is installed and activated, we can install the Jupyter Notebook server.
Install Jupyter Notebook server:
pip install --no-index jupyter
Python interacts with Jupyter Notebook servers through IPython kernels. When we loaded the Ambertools/22 module the appropriate Python and IPython modules were loaded as well. The new IPython kernel specification has to be added to Jupyter before the environment env-pytraj can be accessed from the notebook. The kernel can be named whatever you want, for instance, “env-pytraj”.
Add the new IPython kernel specification to Jupyter:
python -m ipykernel install --user --name=env-pytraj
Finally, install three more packages that we will be using:
- NGLview, a Jupyter widget for molecular visualization.
- Pickle, a module providing functions for serializing Python objects (conversion into a byte stream). Objects need to be serialized for storage on a hard disk and loaded back into Python.
- Seaborn, a Python data visualization library. It extends a popular matplotlib library providing a high-level interface for drawing, templates for attractive and informative statistical graphics.
Install three more packages that will be used in this tutorial:
pip install nglview pickle5 seaborn
As NGL viewer is a Jupyter notebook widget, we need to install and enable Jupyter widgets extension:
jupyter nbextension install widgetsnbextension --py --sys-prefix
jupyter-nbextension enable widgetsnbextension --py --sys-prefix
The nglview Python module provides NGLview Jupyter extension. Thus, we don’t need to install it, but we need to enable it before we can use it:
jupyter-nbextension enable nglview --py --sys-prefix
We are now ready to start Jupyter notebook server. The new Python kernel with the name env-pytraj will be available for our notebooks.
Launching a Jupyter Server
While the following example is for launching Jupyter on the training cluster, the procedure is the same on all other Alliance systems. To launch a Jupyter server on any cluster, you only need to change the name of the login and the compute nodes.
To make AmberTools/22 available in a notebook, we need to load the ambertools/22 module and activate the virtual environment before starting the Jupyter server.
Launching a server involves a sequence of several commands. It is convenient to save them in a file. You can later execute commands from this file (we call this “source file”) instead of typing them every time.
Let’s create a Jupyter startup file for use with AmberTools module, jupyter_launch_ambertools.sh, with the following content:
#!/bin/bash
ml --force purge
ml StdEnv/2020  gcc/9.3.0 cuda/11.4 openmpi/4.0.3 ambertools/22
source ~/env-pytraj/bin/activate
unset XDG_RUNTIME_DIR
jupyter notebook --ip $(hostname -f) --no-browser
Make it executable:
chmod +x jupyter_launch_ambertools.sh
Before starting the Jupyter server, we need to allocate CPUs and RAM for our notebook. Let’s request two MPI tasks because we will learn how to analyze data in parallel.
Submit request of an interactive resource allocation using the salloc command:
salloc --ntasks=2 --mem-per-cpu=1000 --time=4:0:0
Wait for the allocation to complete. When it’s done, you will see that the command prompt changed:
[user100@login1 ~]$ salloc --ntasks=2 --mem-per-cpu=1000 --time=3:0:0
salloc: Granted job allocation 168
salloc: Waiting for resource configuration
salloc: Nodes node1 are ready for job
[user45@node1 ~]$
In this example, salloc allocated the resources and logged you into the compute node node1. Note the name of the node where the notebook server will be running. You will need it to create ssh tunnel.
Now we can start the Jupyter server by executing commands from the file jupyter_launch_ambertools.sh:
./jupyter_launch_ambertools.sh
...
[I 15:27:14.717 NotebookApp] http://node1.int.moledyn.ace-net.training:8888/?token=442c622380cc87d682b5dc2f7b0f61912eb2d06edd6a2079
...
Do not close this window, closing it will terminate the server.
Take a note of:
- the node [node1],
- the port number [8888],
- the notebook access token [442c622380cc87d682b5dc2f7b0f61912eb2d06edd6a2079]
You will need this data to connect to the Jupyter notebook.
Jupiter uses port 8888 by default, but if this port is already used (for example, if you or some other user have already started the server), Jupyter will use the next available port.
Connecting to a Jupyter server
The message in the example above informs that the notebook server is listening at port 8888 of the node1. Compute nodes cannot be accessed directly from the Internet, but we can connect to the login node, and the login node can connect to any compute node. Thus, connection to a compute node should also be possible. How do we connect to node1 at port 8888? We can instruct ssh client program to map port 8888 of node1 to a port on the local computer. This type of connection is called tunneling or port forwarding. SSH tunneling allows transporting networking data between computers over an encrypted connection.
The figure below shows ssh tunnels to node1 and node2 opened by two users via the host moledyn.ace-net.training. In this example, three Jupyter servers started by different users are listening at ports 8888, 8889, and 8890 of each node. Jupyter server of user04 runs at node2:8888, and this user is tunneling it to port 8888 of his local computer. Jupyter server of user34 runs at node1:8890, and this user wanted to use his local port 7945.

Open another terminal tab or window and run the command:
ssh user100@moledyn.ace-net.training -L 8888:node1:8888
Replace the port number and the node name with the appropriate values.
This SSH session created a tunnel from your computer to node1. The tunnel will be active only while the session is running. Do not close this window and do not log out, as this will close the tunnel and disconnect you from the notebook.
Now in the browser on your local computer, you can navigate to localhost:8888, and enter the token when prompted.
Once Jupyter is loaded, open a new notebook. Ensure that you create a notebook with the python kernel matching the active environment (env-pytraj), or the kernel will fail to start!
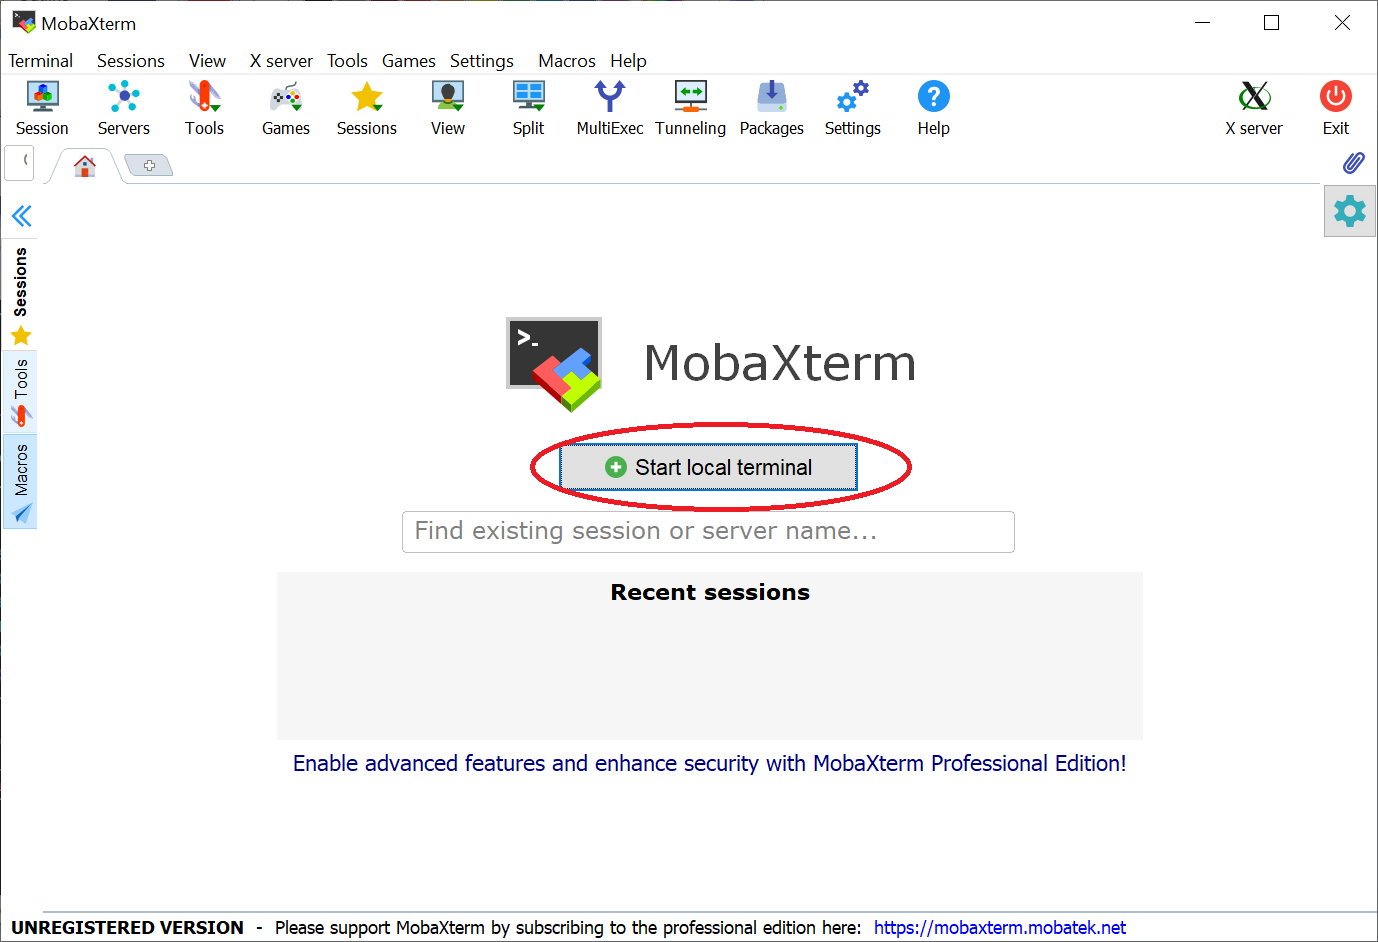
Using MobaXterm (on Windows)
Users of MobaXterm can use the “SSH Session” as usual to open the first terminal tab which they can use to start the interactive job (salloc) and the Jupyter server.
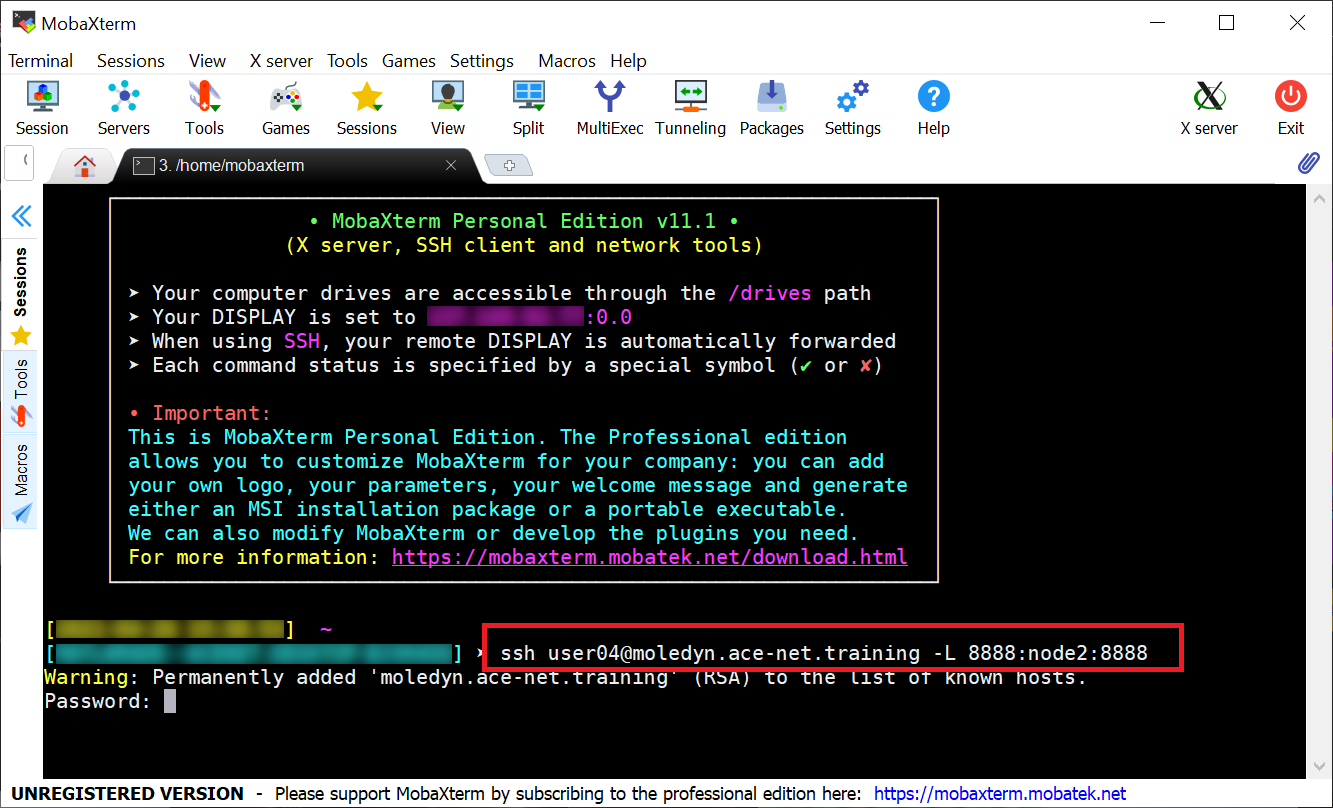
To establish the SSH-tunnels with a second SSH-session, we want to first open a Local terminal:
In the local terminal we then use the same
sshcommand as shown above to create the SSH-tunnel
Uninstalling the IPython kernel:
jupyter kernelspec list
jupyter kernelspec uninstall env-pytraj
Key Points
By keeping everything in one easy accessible place Jupyter notebooks greatly simplify the management and sharing of your work